
Stuffed Pita

Cheese or pizza stuffed flatbread
This easy recipe is one of my favorites for sure. It’s like a great grilled cheese sandwich.
The dough comes together simply and is lovely to work with. Once it hits a hot pan or pizza stone, the cheese within melts, some strands caramelize and the dough is pillowy soft and chewy.
Nobody will know it’s gluten free,
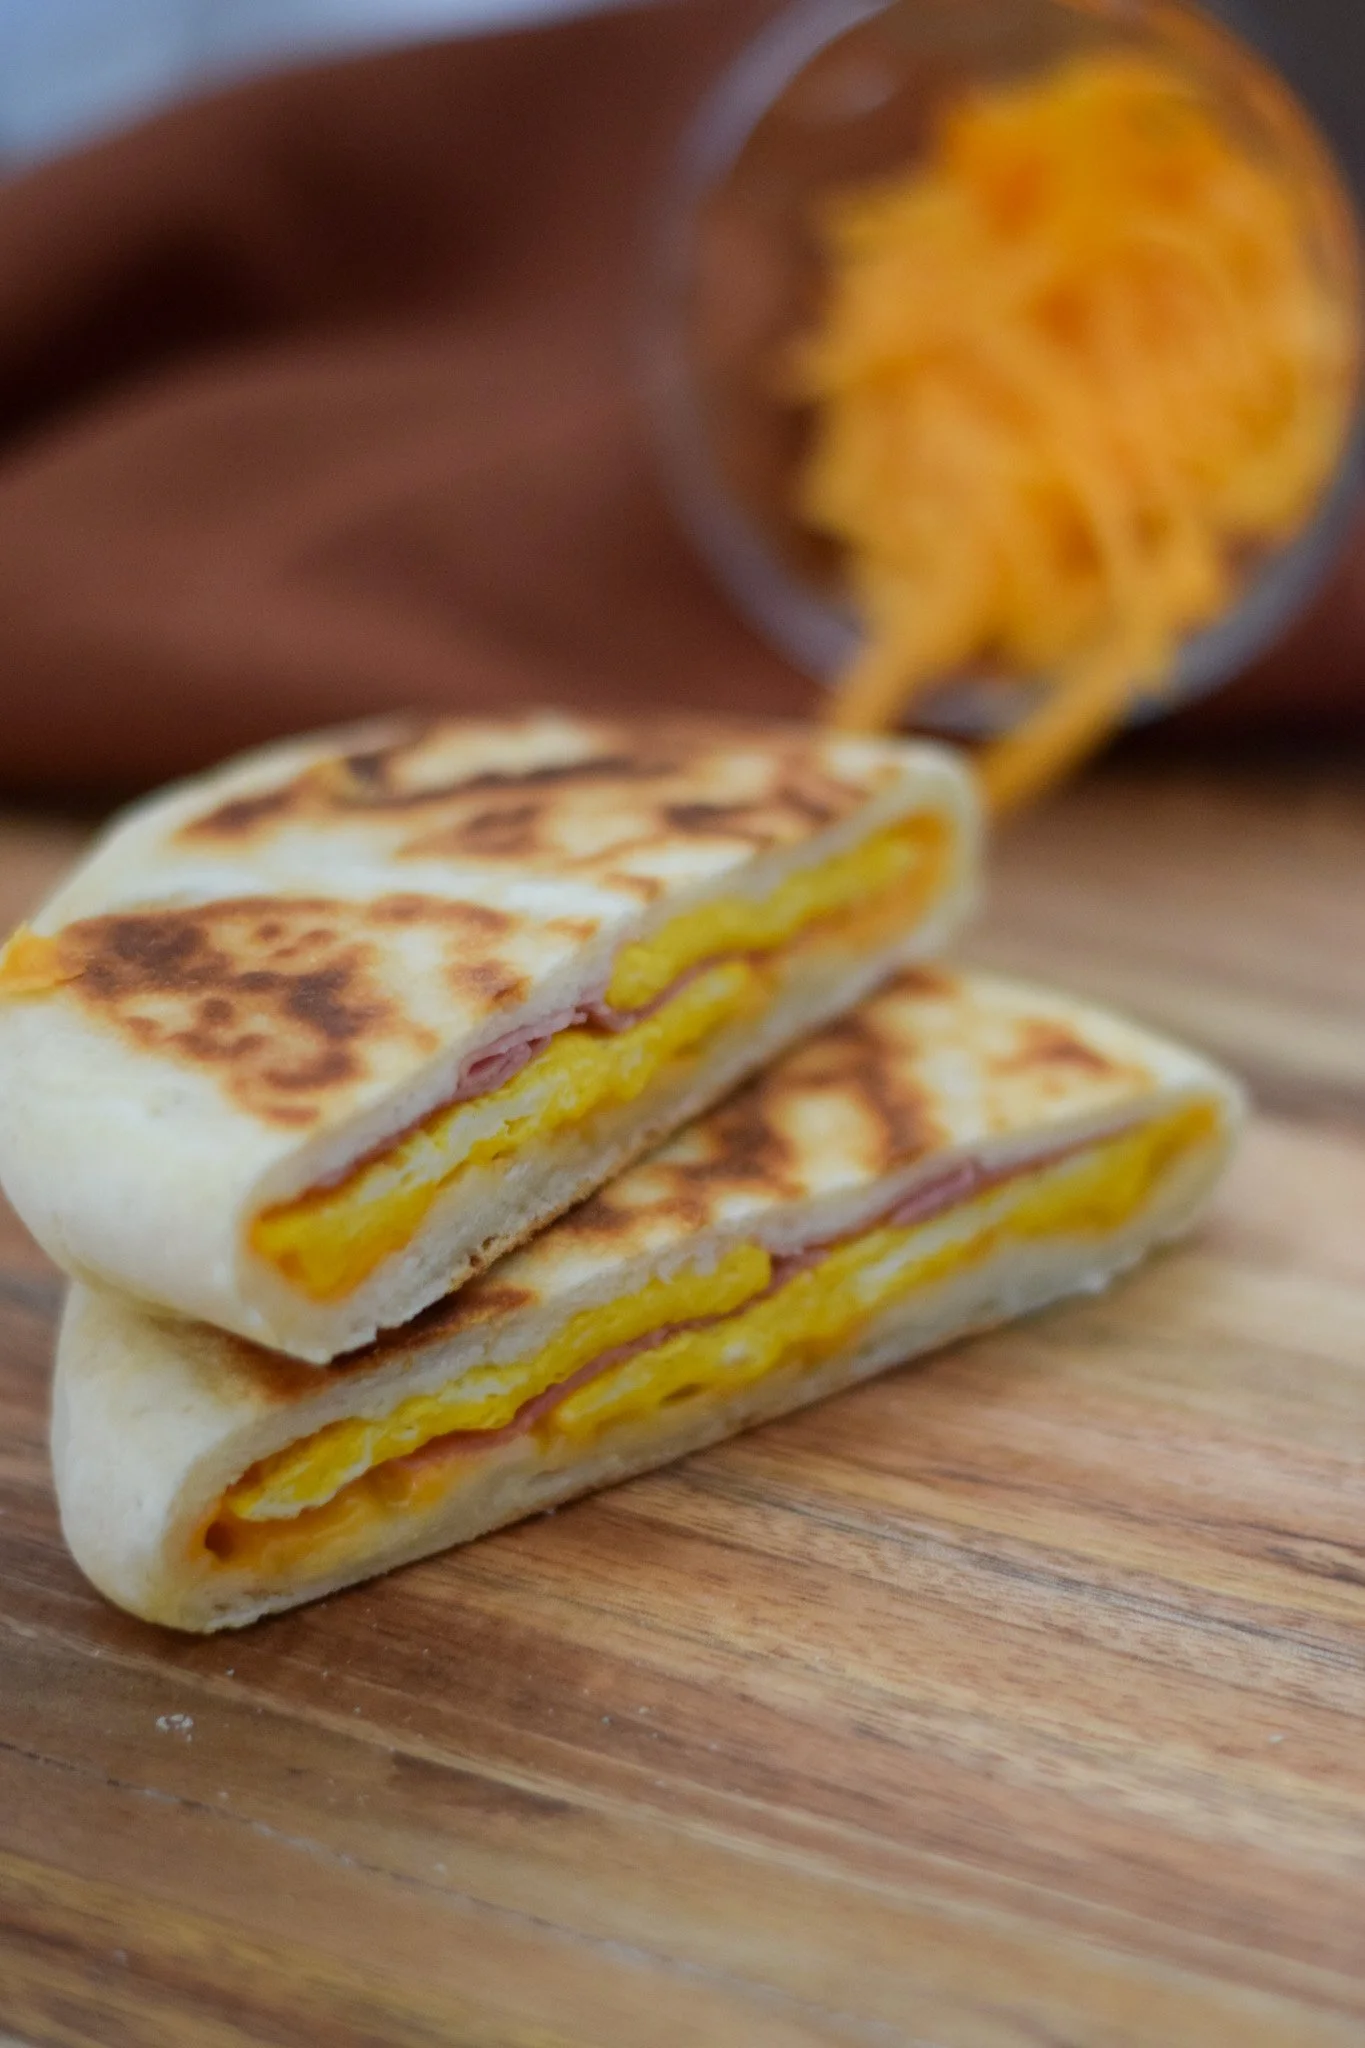
Fill with mashed potato & cheese, or prep the night before with an omelette, cheese, ham etc for a quick breakfast reheat.
One pack makes 8 large pita.
This recipe is half of a pack mix and makes 4
Makes an easy breakfast pocket also.
Ingredients:
257 g (1/2 pack) Gusto Flatbread mix
150 g Water (105-115°F)
14 g Butter (Soft) 1 tbsp
2 tsp sugar
8 g active or instant yeast or 1 pack or 2 1/4 tsp
For the filling
250 g Mozarella Cheese (Shredded) or 1.1 cup, a little tomato sauce, fresh basil or leftover meat sauce
Directions:


In the bowl of stand mixer with a paddle attachment, pour in the lukewarm water. Add the sugar and yeast .Stir to dissolve, rest 3-5 minutes until frothy.
Add butter & the flour mix. Beat on low at first then increase to medium (#4 on the kitchenaid) and beat for 2 minutes, scraping down sides a few times.
Transfer the dough with a spatula to a clean work surface, dusted very lightly with flour or tapioca/potato starch, and knead the dough until smooth & soft. (About 30 seconds.)
Divide the dough into 4 equal pieces.
Take each portion and tuck in the edges towards the center and roll it into a smooth round ball. Cover them with a kitchen towel to prevent from drying.
Roll out the first ball you shaped into a small circle, about 5” diameter.
Fill the center with shredded mozzarella cheese (about 2 heaped tbsp) & any fillings of choice, careful not to overfill.
Cover it with the edges of the dough and then pinch the ends to seal.
Using a floured rolling pin, roll it again into a circle 6” wide and about 1/4” thick. Roll with the seam side up! Lift and turn the dough frequently as you roll to make sure the dough isn’t sticking to your counter.
Repeat with the other pieces of dough. Place on a parchment lined baking sheet.
Cover the shaped pita with plastic wrap or a kitchen towel.


Rising
Let the dough rounds rest for 20-30 minutes or until they rise and puff slightly. I like to place in my oven, covered with plastic wrap, with the light on. Preheat oven to lowest setting (170°F) for ONE minute only, turn off and add a bowl of hot water on lowest rack. This creates a great steamy proof-box.
Cooking on a stovetop
Warm a skillet over low-medium heat until hot. Drizzle a little oil in the pan and wipe off the excess.
Lay a pita on skillet for 1 -2 minutes, until bubbles start to form.
Flip and cook for 1-2 minutes on the other side, until large toasted spots appear.
Flip again and cook another 1-2 minutes to toast the other side. The pita should start to puff up during this time; if not don’t worry, it still tastes great and will be soft & chewy.
Cover with a clean dishtowel while cooking remaining pitas, to keep warm & soft.
Baking in the oven
Preheat oven to 450°. Place a baking stone in the lower rack while preparing the pitas. f you don’t have a baking stone, place a large baking sheet on the lower rack, 10 minutes prior to baking.
If using half-sheet pans you can fit 3-4 pitas on each.
After proofing, lift a pita disc, with your fingers or or a large spatula, and flip it onto the hot baking stone (if your stone is large enough you can bake more than one at a time).
Flip the dough so that the side that was resting on the counter is now facing up. You want the side that has been exposed to air (the dry side) to be down on the baking stone and the side that is more doughy and moist to be facing up – this helps the pita puff up.
If you bake one or two and they aren’t puffing, spritz the top of the pita with a light mist of water.
Bake at 450 F for 5 minutes.
Keep warm in a clean towel while the others bake.